
This make is a month old already and was just meant to be a wearable muslin, but I wore it to the last ASG meeting and Kitty talked me into posting it. It was a muslin I made up to test the kimono pattern I used for the silk kimono from the October challenge. The pattern is Simplicity 1318 but I pieced it together to remove the center back and sleeve seams.

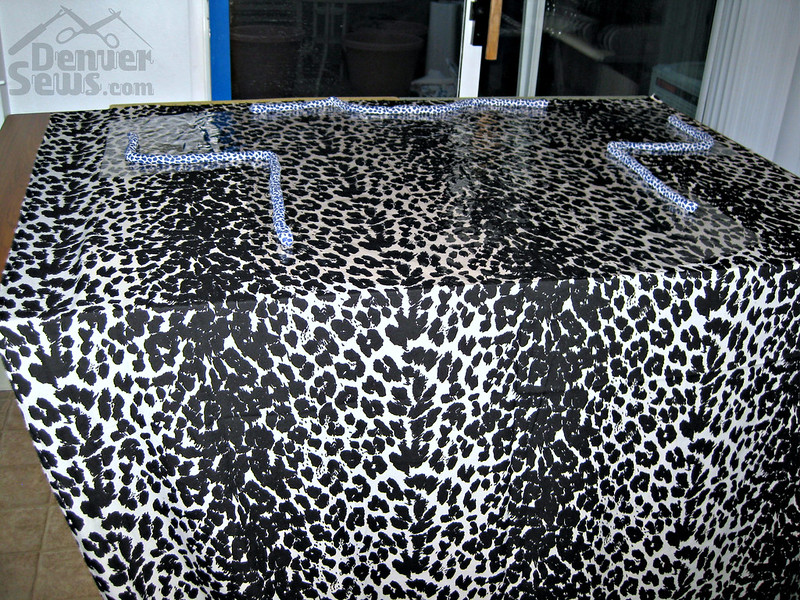
The fabric was just a polyester print from JoAnn’s. When I laid the fabric out to cut, I realized that the print was not anywhere near centered on the fabric. The fabric is NOT hanging off the side of the table in the photo below, so you can see it’s about 6 inches off center! My clear pattern pieces ended up coming in handy even in the muslin stage, because I probably wouldn’t have noticed this otherwise. I used them to line up the center back of the kimono with one of the black stripes. I also noticed when I was cutting the front pieces and trying to line them up in the white areas that there is a line down the white area that is not centered, so my center pieces wouldn’t look symmetric. Argh! I ended up flipping the front pieces in opposite directions to have the black line in the same place somewhere in the armpit area. I also strategically cut the front and sleeve bands to be on darker areas so they would stand out more. Now that I’m writing this out, I’m realizing that this might have been a bit obsessive for just a muslin… Does anyone else put way to much thought into cutting prints?
Another technique I tried out was to insert flat strips of fabric along the seams attaching the front bands to make them stand out a bit more. I’ve seen this in RTW and I like it better than piping in a soft garment because it doesn’t add as much stiffness. Basically you just cut bias strips, iron them in half the long way, and lay them along the seam the same as you would add piping.


Very nice work, Jamie. The centered print and bias trim obviously involved a lot of work; nothing that sharpens your skills is a waste of time.
LikeLike
Jamie, this is terrific. I love the result. When you analyze your fabric that way it’s not obsessive. It’s what you should do! That’s what makes an excellent designer. Beautiful kimono. Melanie
LikeLike
Im the same with spending time on muslins just in case it might work out. The bias/piping looks great. It defines the lapel parts really well.
LikeLike
Jamie I think the time you spent making sure your print design was centered was well worth the effort. It looks perfect! As I told you when I saw the kimono in person I love your faux piping. The softness of the bias strips in the seam lines is lovely on this light weight fabric and it’s a technique I wasn’t familiar with. So thanks for explaining it!
LikeLike
Fabulous! This is clearly one of the best muslins I’ve ever seen. Love the “piping” detail.
LikeLike