
Sewing with plaid is certainly an adventure. I have never made anything with plaid, never been a fan of it at least until last week. Now I can’t wait to start sewing another plaid project!

As with many of us, we’re getting ready for fall and winter sewing. That means for me going through my stash of fabric and patterns and putting together a plan. The plaid was from my mom’s stash from 1993 (!) from Colorado Fabrics (RIP) (back then known as Denver Fabrics). I found this pattern from McCalls/Sew News 7812 (circa 1995) at some thrift store a few years ago and thought the two belonged together for fall 2020.

The hardest thing about sewing with plaid is laying out the pattern. I did a bit of research and there are many tutorials on the subject. For those venturing into plaid territory, I would recommend these as a starting point. (see bottom of post for more tips). This layout was made extra hard in that I didn’t have enough fabric.
The pattern called for 2 7/8 yards of fabric. I only had 2 1/2 yards. When you are working with plaid it’s recommended that you have at least an additional 1/4 yard to be able to match your seams. I did remove some pattern pieces but really could have used more fabric.
I started my layout following the Curvy Collective recommendation of finding a dominant line on your plaid and a marking on the pattern and then match the pieces accordingly. Fortunately, I had my expert sewing friend Marnie look at the layout before cutting. The Curvy Collective tip is for even plaids. For uneven plaids, this will not work. Also, my plaid has four distinct pattern blocks. I needed to match up those when connecting to a seam in order for it to look perfect.
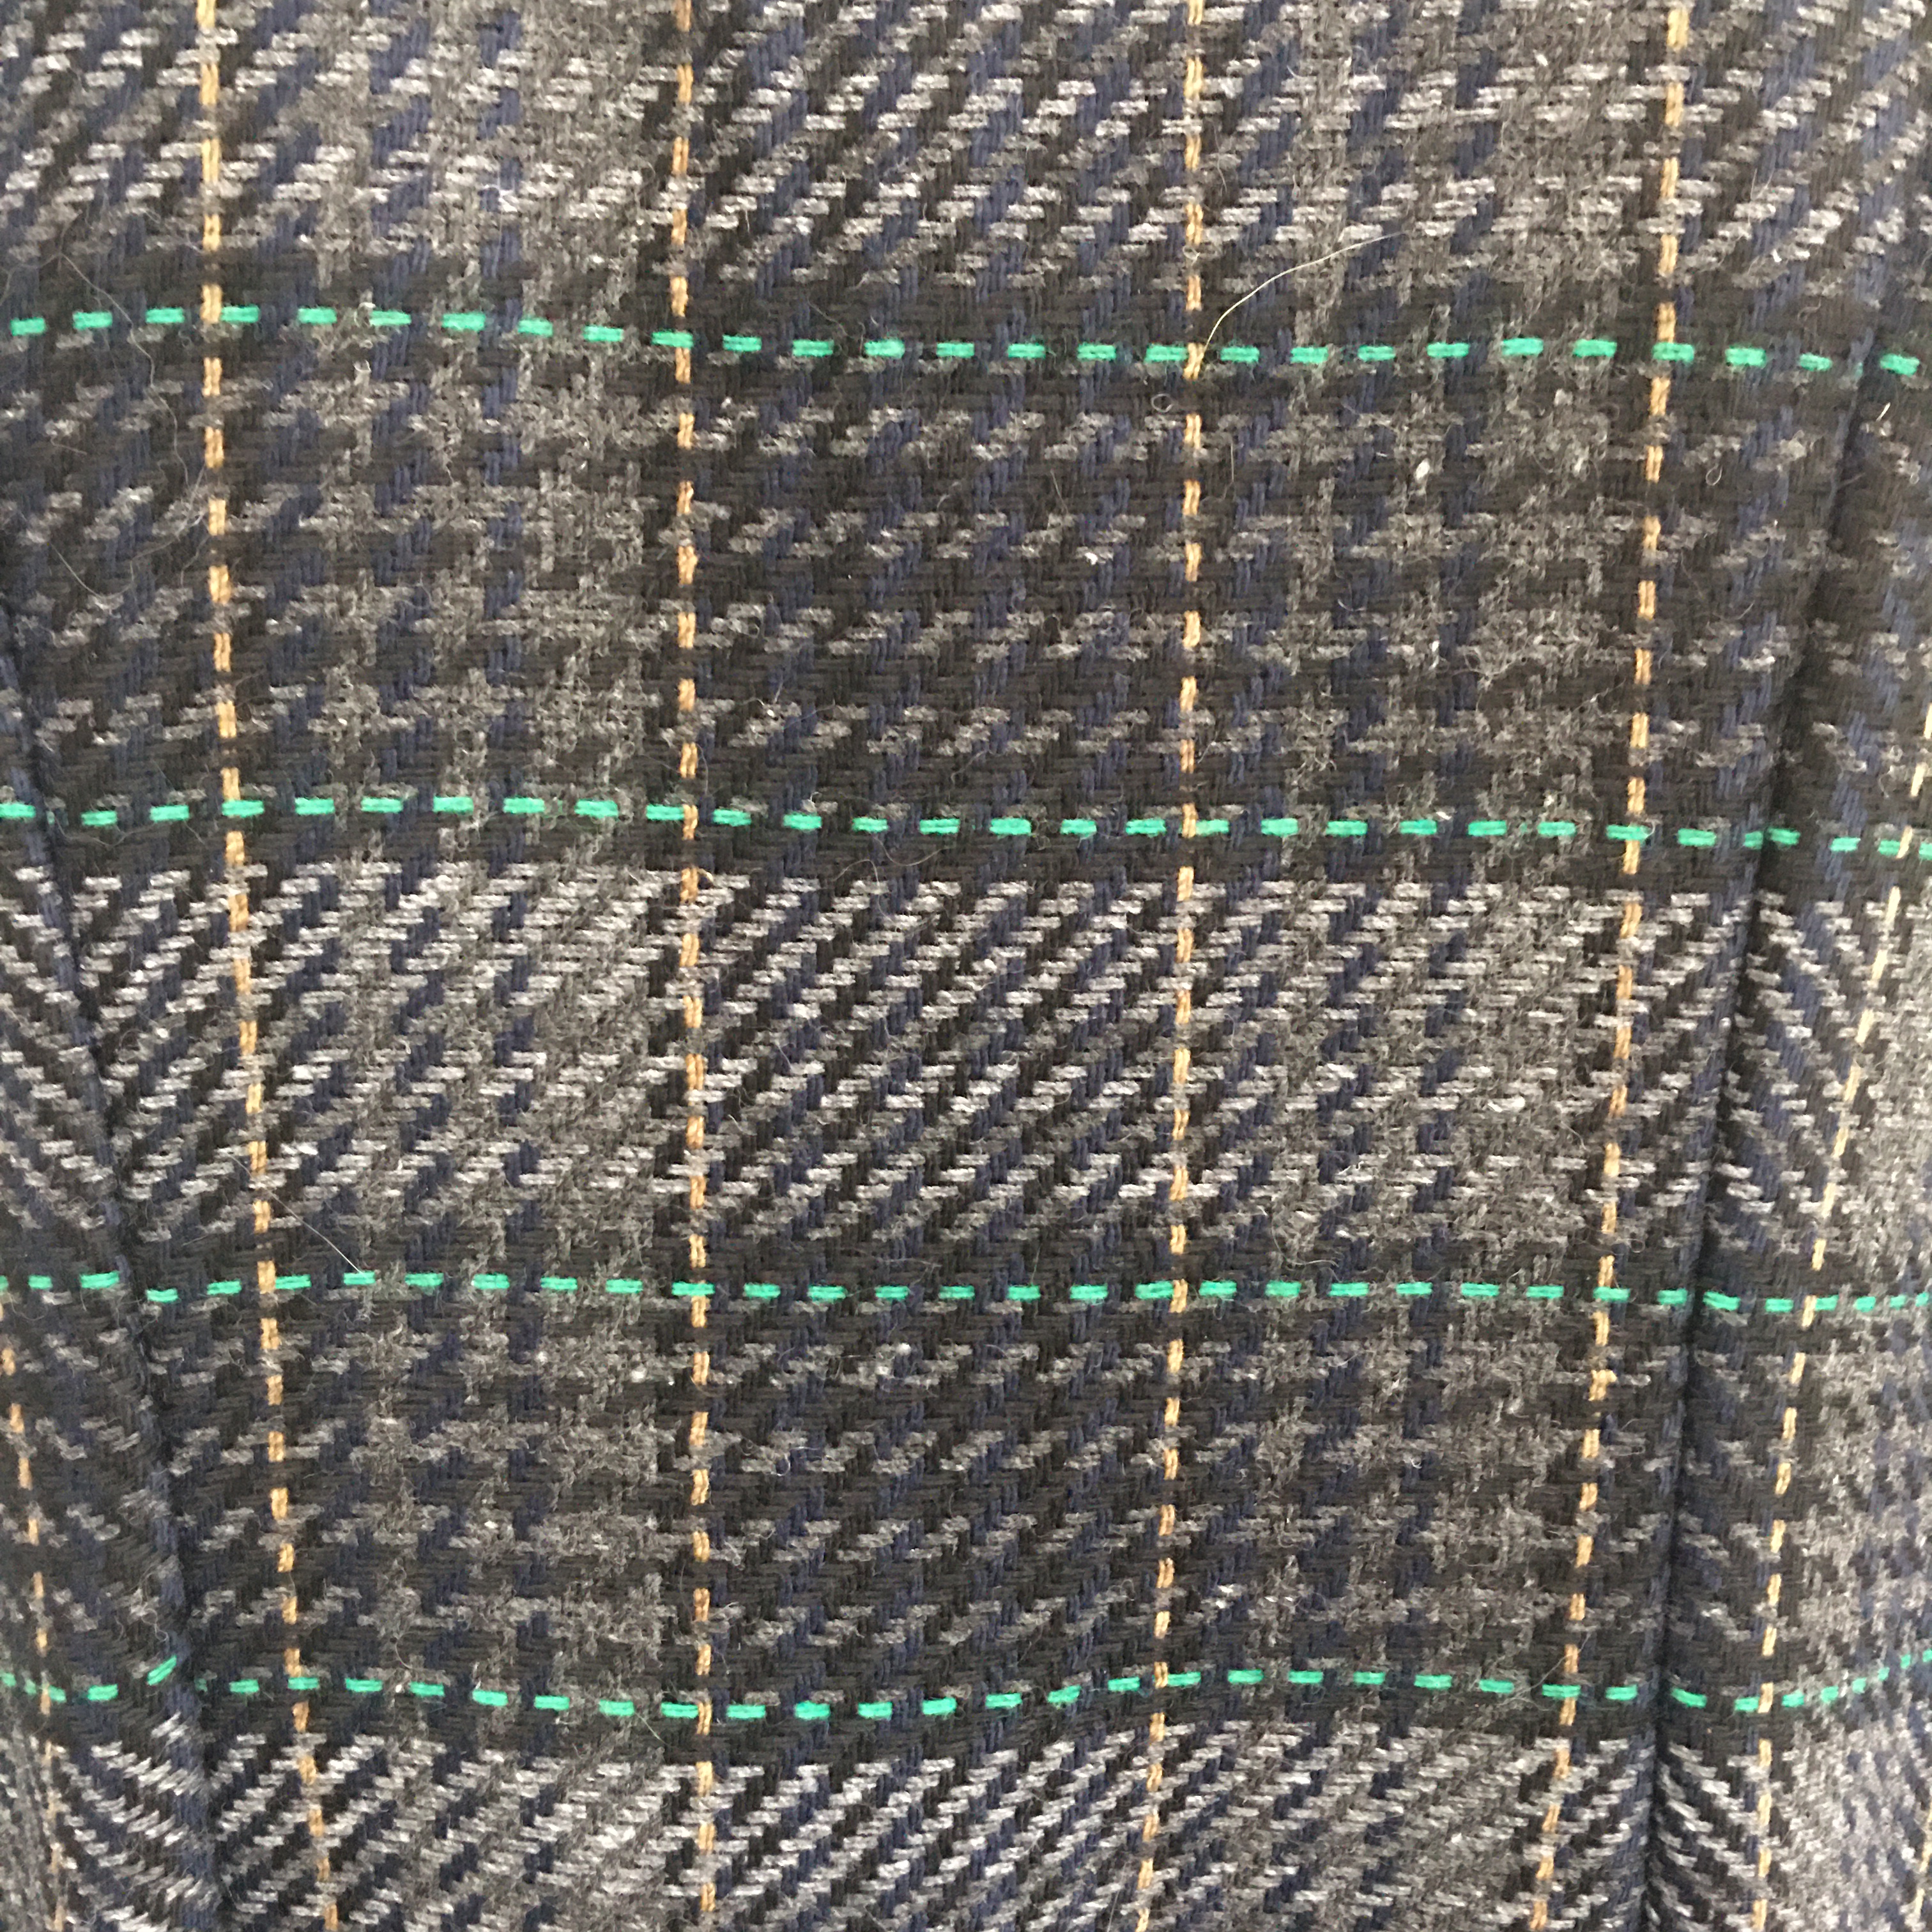
They also recommend using Wonder Tape to temporarily tape the seams instead of basting. This might work on cotton or stable wovens but not on my somewhat delicate wool. If I had to reposition, one pull of the tape and it would have shredded the fabric. (Again, thanks Marnie.) I found her tip on poking the pin right through the green line and checking the other side to see if the pin goes through the green line as well worked best. Baste on a 5 or so.
I made a lining for the pattern which gave me an idea of what the fit would be like. This pattern had a lot of ease in it but I wanted a fit and flare look. I sewed 3/4″ side seams plus a whole inch on the backside seam. I think the fit is good if not a sqoush snug. With an inch on the back seam, I can let it out if I need to.
Marnie left and I started over the next day. Working with plaid is a workout. Made harder by being on the floor. I think I was squatting for about 2 hours or so. You may have seen on Instagram that the cat and dog wanted to help, lots of screaming ensued and so forth. Lastly, I needed to get this done before people came home and dinner needed to made. You know how it goes.
One thing I found that really made so much more visual sense was making copies of all the pattern pieces and then I laid them out according to how I will sew them together.

- Always check the seam line for matching NOT the cutting line. I drew my seam line on all my pattern pieces.
I did find a tip from Threads which said when sewing with plaid to avoid princess seams. I found that kind of odd. Of course, you can’t match on darts or princess seams but that would eliminate a heck of a lot of patterns. You will notice that I was able to match at the green line. Nice!

In the end, I did not match the side seams, and a little bummed about that. I was beginning to suffer from plaid fatigue, I think.

After so much futzing I just said ‘no more’! The front and back match near perfectly and I am super happy about that.
I did forget how long dresses were back in the mid-90s. I usually lengthen my dress and skirt patterns but not this time. The tea length is too long for me and I think the shorter version is more modern and less marmish. I really want to sew up a shorter version. I just love this look!
- Hand basted the invisible zipper before machine stitching
- The lining is a sanded washed black satin
- All seams (with exception of the princess seams )are serged
Tips for sewing with plaids


You did a beautiful job on your jumper and your detailed directions reminded me what a challenge plaids are. I am no longer interested in sewing them. I have lots of fabrics from Denver Fabrics. I worked there on Saturdays for awhile and bought lots of fabrics using my employee discount. However, I’m no longer working and have no need for business clothes so many fabrics will never be used.
LikeLike
This looks fabulous, and look at that matching! Great tips too. BTW I remember Denver Fabrics way back when they were on So. Federal Blvd. One of my favorite stores.
LikeLiked by 1 person
Sad to see them go. That’s why we need to keep building our stash. You never know!
LikeLike