
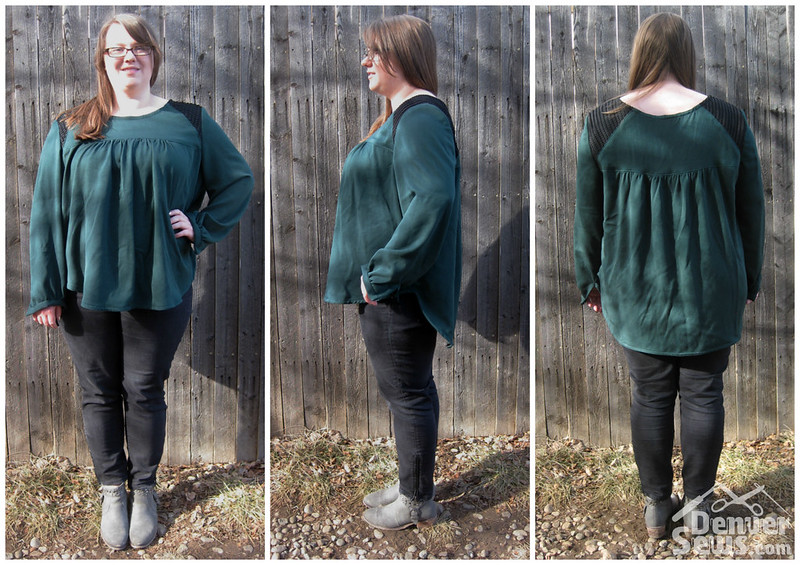
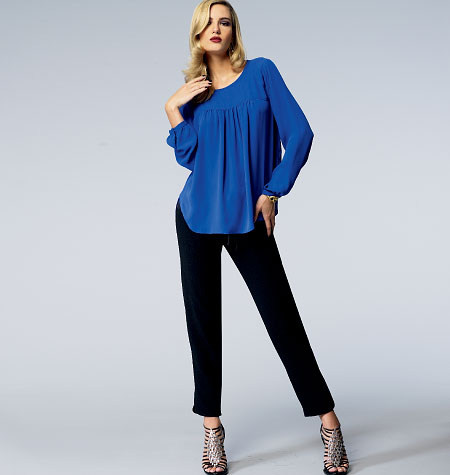
Like Kitty, I’ve been in a sewing slump for the last month. For me the only way out of a slump is to make something I really love, which is a dumb thing to say because I don’t start any project with the intention of hating it. If I was smart I would have picked an easy win, like a pattern I already know fits made out of a fabric I’m really into… but I never sew with that much intention. After abandoning a couple other projects I won’t even name (okay, Burda top I was in love with from the November issue… you let me down big time) this Vogue pattern literally fell out of my closet. It’s a Rebecca Taylor designer pattern and the cover photo was great. If I thought harder about it, I would not have picked a Vogue designer pattern during a slump considering the number of fitting issues they always seem to bring about. (Kitty laughed when I told her I was working on a Vogue designer.) But… I think my slump is over!
The fabric I pulled out of my stash was a Fabric Mart purchase from this summer. The label said it was a rayon twill from JCrew and I paid $3 a yard for it. I can’t describe how much I love this fabric! It’s soft with almost a fuzzy brushed texture but you can also see the twill weave. Usually rayons wrinkle like crazy, but the twill weave seems to make this resistant to wrinkles. It’s also really fluid but weighty at the same time – why are fabrics like that so hard to find? I think I was drawn to it because it was great for a winter weight top and it was about 20°F out when I started it. (Of course it was about 70°F when I took this picture.) The only downside to this luxurious fabric is that it was SO delicate to press. I’d never put shine on any piece of fabric with my trusty Naomoto iron, but a quick press on the lowest steam setting and the first piece I pressed looked destroyed. I managed to rescue it with a spray bottle of vinegar, but after that all I did was hover the iron over a seam to steam it a bit and then press the seam open with my fingers. Finger pressing – that’s all it took to get the seams flat!
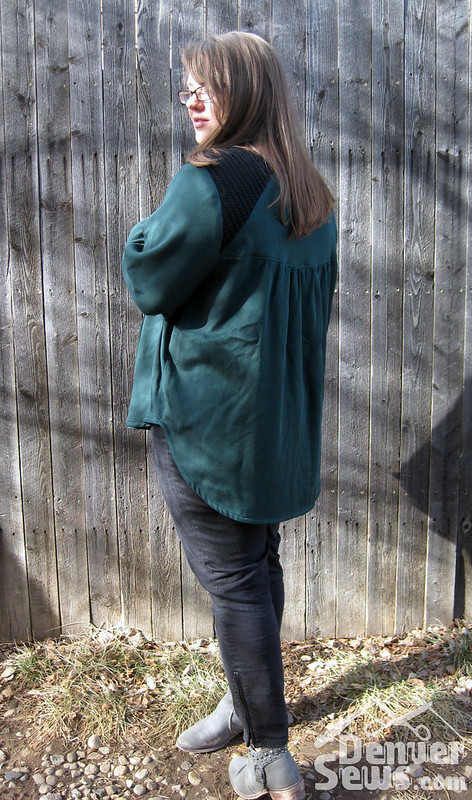
If you’re curious, the black bits on the shoulder are a lace fabric I had lying around, also from Fabric Mart. It looks like strips of pleated satin spaced across a mesh backing. All I did was cut another layer of the shoulder pieces and baste them to the main fabric before sewing together.

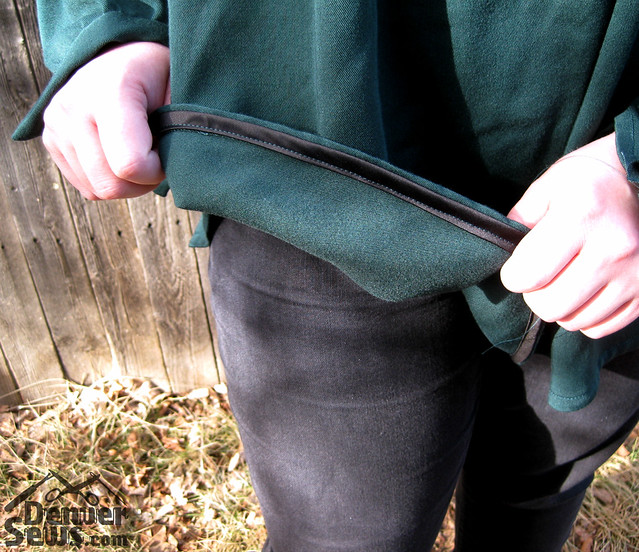
I went off piste from the directions in a few places. I didn’t even look at the directions for the sleeve plackets and just used this tutorial from Grainline Studios that I’ve used in the past to make perfect plackets on three Archer shirts. (Why ruin my track record?) I also finished the hem with the same bias tape I used on the neckline – curved hems always pucker with any turn and fold method for me – bias tape seems to pucker less. My only alteration was to shorten the sleeves 3 1/2 inches based on my measurements before cutting the sleeves. However, I think I forgot to add the cuff/band to my calculations because they are still about an inch too long. I didn’t add snaps to the cuffs yet because I’m thinking about shortening them, but the prospect of redoing the placket, gathers and cuff makes me feel like just wearing it as is. I guess I could try and take it up at the shoulder, but that would require ripping out my serging… ugh.
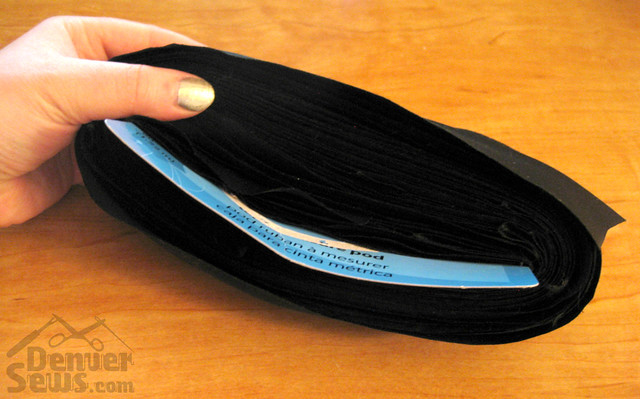
Speaking of bias binding, I finished cutting the 2 yard fabric tube from last week into one long bias strip, and this is what it looks like wrapped around a piece of cardboard. I seriously had no idea you could get that much bias tape out of that little fabric! I’m thinking it would be cool to do a bias tape swap: Everyone makes one of these out of a yard piece, then we cut each of them up into equal pieces and everyone goes home with ~10 yard lengths of bias tape in a bunch of different fabrics. It’s great to have around instead of the yucky stiff Wrights stuff!

Jamie, I said I wasn’t buying any new patterns, but I really gotta have this pattern. It will go so well with my leggings.
As usual your work is beautiful. I’m glad I got to see the lace up close and personal at our sew in.
LikeLike
That’s a great looking blouse, and you in it! Isn’t it thrilling and sort of freeing (is that a word?) to create a garment that totally works in every way? By the way, thanks t katboulder for explaining “piste” – I thought it was a typo….
LikeLike
Love love love the shoulder treatment. Good choice! Looks great on you and I’ll bet it’s really comfy.
LikeLike
Wow, Jamie, your blouse turned out beautifully! I’m happy for you, but now I’m feeling like the only person alive who has never had a success with a Vogue pattern, we used to have that in common!
I appreciate that I always learn something from your posts, this time even a new word: “piste”. For non-skiers like me, piste means a marked path, as in a ski run.
LikeLike
I really like the shoulder detail, too. Great to see something different.
LikeLike
Love the hem! You’ll have to show me how to do it. Shoulder fabric is cool, too.
LikeLike
Wow. That’s a beautiful job, Jamie. I’ve made the bias tape that way – it’s how we used to do upholstery fabric for bindings. It really is amazing. LOVE the shoulder details on this. Great slump buster!
LikeLike