 I was intrigued enough by the design of these slouchy pleat front pants by StyleArc that I bought the pattern, but then I waffled on whether to actually make them. I’ve never tried on a pair of pleat front pants that I liked, and frankly the image they always bring to mind is something like this…
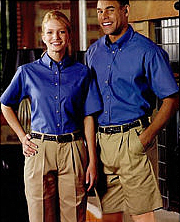 Welcome to Best Buy!
But then Sylvia convinced me that making them out of a silky fabric was a completely different look and agreed to make them with me, so I went for it. Here’s the line drawing from StyleArc. I like how the front pleats mirror the line of the side pockets, and how there is another pleat cleverly hidden under the first.

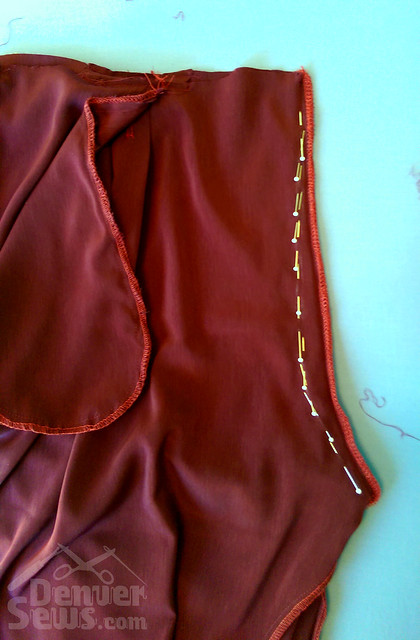
The pattern calls for “silk, crepe, rayon, or any soft falling fabric”. I used a dark maroon polyester peachskin I bought from Fabric Mart about a month ago that was listed as made by J Crew. I used to be more of a natural fiber snob, but I find myself wearing the things I can throw in the washer/dryer way more. And this is a really nice feeling polyester – a couple of people who handled it at the last Meetup thought it was silk. I’m pretty sure this is a listing for the same fabric: Dark Berry Polyester Peachskin
I had a couple issues with the pattern instructions, which isn’t usually a problem for me with StyleArc. The first one was about the pleat labeling on the pattern, and I covered it in my last post. The second one was about the order of the instructions… First they have you sew the small box pleat, then attach the pocket, then sew the larger knife pleat. It made sense to me to attach the pocket before you put the pleat in because the pant front will lie flat still and there will be less chance of getting extra fabric caught up in your seam. The problem is, the instructions also said to stitch the pocket to the top of the waistband… so once you get to the pleating part, you’re pleating your pocket too. OOPS! So just wait to attach the pocket to the waistband until after you’ve done all the pleats.
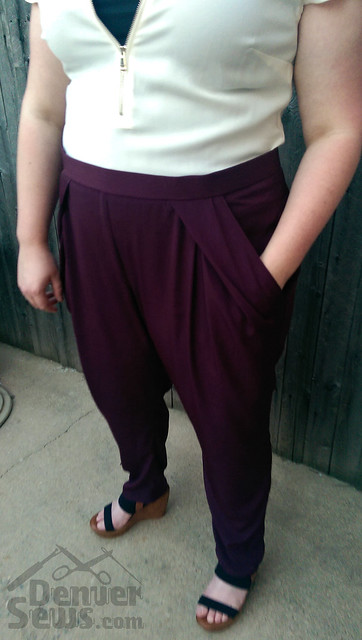
I was too lazy to make a muslin so I added 1″ to the outer side seams while cutting to give some extra room to fit along the way. After trying them on I ended up taking exactly 1″ back out of the side seams. I guess the fit on these is pretty spot on! I thought the back fit perfectly. The front had a bit of pulling when I tried them on, which I think was a combination of all the extra fabric in front with the front crotch being a little too tight. I ended up modifying the front crotch as you see below to add a bit more room. I think the pattern as is would be fine for most people though. I appreciate that the pattern doesn’t have a really low drop crotch like some styles you see similar to this… that is getting into MC Hammer territory and I just can’t take the pleat pants look that far.
Another thing I wasn’t crazy about is the lack of a waistband. (The pattern has an interfaced facing instead.) I felt dubious about putting all the stress of high waistline on a tiny invisible zipper, so I just added a rectangular waistband. I think I like the design better with a waistband anyways, and it’s less fussy than a facing. I put 1 1/4″ ban-roll inside which is a tip I got from Gentleman Jim and it is probably the nicest looking waistband I’ve ever made. It’s crisp!
All-in-all, the pants fit well but I’m not sure how “me” they are. I had a terrible time trying to figure out how to style them. I was trying to find something short enough to show off the pleats, but I tend to wear mostly long tops so I had to settle for just tucking a shirt into them. I guess I can always wear them with a long shirt and they look like regular pants. Actually, the legs have the perfect taper for a loose pant. Nice work, StyleArc.


I just noticed you added a waist band to your pants! That makes yours look really good.
LikeLiked by 1 person
They remind me of Harem pants, which are by far the most fashionable and comfy pants in the world! Those look great!
LikeLike
These pants look great on you! Nice job!
LikeLike